How to replace a damaged granite tile?
Aug 08, 2025
Replacing a damaged granite tile might seem like a daunting task, but with the right guidance and the right materials, it can be a manageable DIY project. As a reputable granite tile supplier, I've witnessed firsthand the beauty and durability that granite tiles bring to both residential and commercial spaces. In this blog post, I'll walk you through the step-by-step process of replacing a damaged granite tile, ensuring that your space maintains its elegance and functionality.
Step 1: Assess the Damage
The first step in replacing a damaged granite tile is to assess the extent of the damage. Carefully examine the tile to determine if it's cracked, chipped, or completely broken. Look for any signs of loose or unstable tiles around the damaged one. This assessment will help you determine if you need to replace just the single damaged tile or if there are underlying issues that need to be addressed.
Step 2: Gather the Necessary Tools and Materials
Before you begin the replacement process, gather all the tools and materials you'll need. Here's a list to get you started:
- Safety goggles and gloves
- Pry bar or chisel
- Hammer
- Utility knife
- Notched trowel
- Tile adhesive
- Grout
- Sponge
- Grout float
- Tile spacers
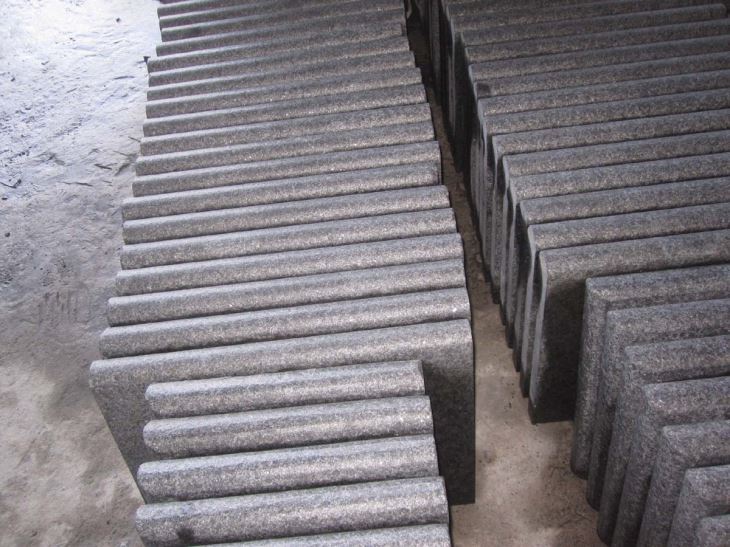
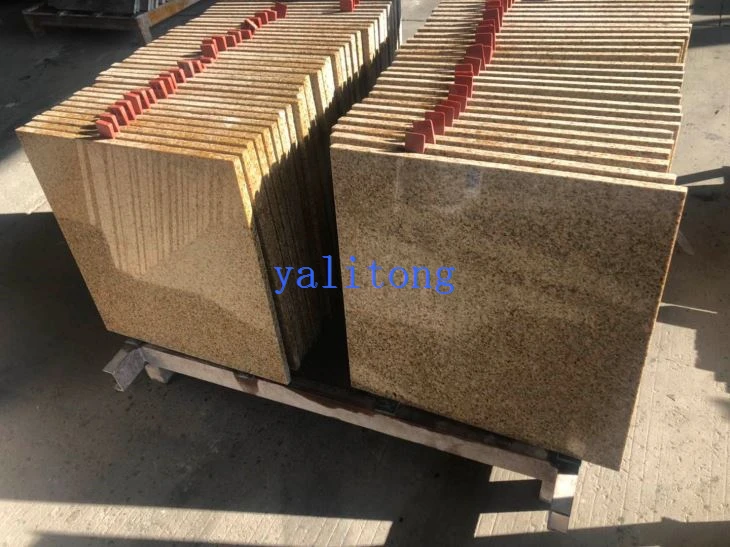
- Replacement granite tile (ensure it matches the existing tiles in terms of color, size, and finish). You can explore our wide range of granite tiles, such as China Black Pearl G684 Flamed Granite Tile For Pool Coping, Ash Black Granite Polished Tiles & Snow Grey Flamed Tiles for Wall Cladding and Flooring Decoration, and Yellow Granite G682 Tiles Cost.
Step 3: Remove the Damaged Tile
Put on your safety goggles and gloves to protect yourself from any flying debris. Use a pry bar or chisel to carefully loosen the edges of the damaged tile. Start at one corner and work your way around the tile, gently prying it up. If the tile is stubborn, you can use a hammer to tap the pry bar or chisel to loosen it further. Once the tile is loose, lift it out of the floor or wall.
Step 4: Clean the Area
After removing the damaged tile, use a utility knife to scrape away any remaining adhesive or grout from the surface. Make sure the area is clean and free of any debris. You can use a damp sponge to wipe down the area and remove any dust or dirt.
Step 5: Prepare the Replacement Tile
Before installing the replacement tile, check it for any defects or damage. If necessary, cut the tile to fit the space using a tile cutter or wet saw. Make sure to wear safety goggles and gloves when cutting the tile.
Step 6: Apply the Tile Adhesive
Using a notched trowel, apply a thin layer of tile adhesive to the clean surface where the damaged tile was removed. Spread the adhesive evenly, making sure to cover the entire area. Use the notched side of the trowel to create ridges in the adhesive, which will help the tile adhere better.
Step 7: Install the Replacement Tile
Carefully place the replacement tile on top of the adhesive, aligning it with the surrounding tiles. Press down firmly on the tile to ensure it adheres to the surface. Use tile spacers to maintain an even gap between the tiles. You can adjust the position of the tile as needed to ensure it's level and flush with the surrounding tiles.
Step 8: Let the Adhesive Dry
Allow the tile adhesive to dry according to the manufacturer's instructions. This usually takes several hours or overnight. Avoid walking on or disturbing the tile during this time to ensure it sets properly.
Step 9: Apply the Grout
Once the adhesive is dry, it's time to apply the grout. Mix the grout according to the manufacturer's instructions, using a grout float to apply it to the gaps between the tiles. Make sure to fill the gaps completely and smooth the grout with the float. Wipe away any excess grout with a damp sponge, being careful not to remove too much grout from the gaps.
Step 10: Clean and Seal the Tiles
After the grout has dried for a few hours, use a dry sponge to wipe away any remaining grout haze from the surface of the tiles. Once the tiles are clean, you can apply a tile sealer to protect them from stains and damage. Follow the manufacturer's instructions for applying the sealer.
Conclusion
Replacing a damaged granite tile is a relatively straightforward process that can be completed with a little patience and the right tools. By following these steps, you can ensure that your granite tiles look as good as new and continue to enhance the beauty and functionality of your space. If you have any questions or need further assistance, feel free to contact us. We're here to help you find the perfect granite tiles for your project and provide you with the support you need.
References
- Tile Installation Handbook, [Publisher Name], [Year]
- Granite Tile Maintenance Guide, [Publisher Name], [Year]