How to install marble tile on a concrete floor?
Jun 30, 2025
Installing marble tile on a concrete floor can transform the look of any space, adding a touch of elegance and sophistication. As a leading marble tile supplier, I've had the privilege of working on numerous projects, and I'm excited to share my expertise on this process. In this guide, I'll walk you through the steps of installing marble tile on a concrete floor, from preparation to finishing touches.
Step 1: Prepare the Concrete Floor
The first step in installing marble tile is to prepare the concrete floor. This involves cleaning the surface to remove any dirt, dust, grease, or other contaminants that could prevent the tile adhesive from bonding properly. Use a stiff brush and a high - strength cleaner to scrub the floor thoroughly. Rinse the floor with clean water and allow it to dry completely.
Next, inspect the concrete floor for any cracks, holes, or uneven areas. Small cracks can be filled with a concrete patching compound, while larger cracks may require more extensive repair. For uneven areas, you can use a self - leveling compound to create a smooth surface. Follow the manufacturer's instructions carefully when using these products.
Step 2: Measure and Plan the Layout
Once the floor is prepared, it's time to measure the area where you'll be installing the marble tile. Use a tape measure to determine the length and width of the room. Calculate the square footage of the area to determine how many tiles you'll need. It's a good idea to purchase a few extra tiles to account for any cuts or breakages.
When planning the layout, consider the size and shape of the marble tiles. You can choose a traditional straight - set pattern, a diagonal pattern for a more contemporary look, or a herringbone pattern for added visual interest. Mark the center of the room using a chalk line. This will serve as your starting point for laying the tiles.
Step 3: Choose the Right Adhesive
Selecting the right adhesive is crucial for a successful marble tile installation. There are several types of adhesives available, including thin - set mortar and epoxy adhesive. Thin - set mortar is a popular choice for most marble tile installations. It's easy to work with and provides a strong bond.
When choosing an adhesive, make sure it's suitable for use with marble tile and the type of concrete floor you have. Read the manufacturer's instructions carefully to ensure proper application. You'll also need a notched trowel to apply the adhesive. The size of the notched trowel will depend on the size of the marble tiles.
Step 4: Apply the Adhesive
Using a notched trowel, apply the adhesive to a small area of the prepared concrete floor. Start at the center of the room and work your way outwards. Spread the adhesive evenly, making sure to create a smooth, even layer. Use the notched side of the trowel to create ridges in the adhesive. This will help the tile bond better.
Step 5: Lay the Marble Tiles
Carefully place the first marble tile on the adhesive, starting at the center of the room. Press the tile firmly into the adhesive, using a slight twisting motion to ensure good contact. Use tile spacers to maintain even gaps between the tiles. This will ensure a uniform look and make it easier to grout the tiles later.
Continue laying the tiles, working in small sections at a time. Cut the tiles as needed to fit around edges, corners, and obstacles. Use a tile cutter or a wet saw for cutting the marble tiles. Make sure to wear appropriate safety gear, such as goggles and gloves, when cutting the tiles.
Step 6: Check for Level and Alignment
As you lay the tiles, use a level to check that they are flat and even. Adjust the tiles as needed to ensure they are level. Check the alignment of the tiles regularly to make sure they are straight and in the correct pattern. If a tile is not in the right position, lift it up carefully and re - position it on the adhesive.
Step 7: Allow the Adhesive to Cure
Once all the tiles are laid, allow the adhesive to cure according to the manufacturer's instructions. This usually takes 24 to 48 hours. During this time, avoid walking on the tiles or placing any heavy objects on them.
Step 8: Grout the Tiles
After the adhesive has cured, it's time to grout the tiles. Choose a grout color that complements the marble tiles. There are several types of grout available, including sanded and unsanded grout. Sanded grout is recommended for larger tile joints, while unsanded grout is suitable for smaller joints.
Mix the grout according to the manufacturer's instructions. Use a grout float to apply the grout to the tile joints. Hold the float at a 45 - degree angle and spread the grout evenly over the joints. Make sure to fill the joints completely.
Step 9: Clean the Tiles
After applying the grout, wait for about 15 to 20 minutes for it to start setting. Then, use a damp sponge to wipe off the excess grout from the surface of the tiles. Rinse the sponge frequently in clean water to avoid spreading the grout. Make sure to remove all the grout haze from the tiles.
Step 10: Seal the Marble Tiles
To protect the marble tiles and the grout, it's important to seal them. There are several types of sealers available, including penetrating sealers and topical sealers. Penetrating sealers are absorbed into the marble and grout, providing long - lasting protection. Topical sealers form a protective layer on the surface of the tiles.
Apply the sealer according to the manufacturer's instructions. Use a clean, dry cloth or a roller to apply the sealer evenly over the tiles and grout. Allow the sealer to dry completely before using the floor.
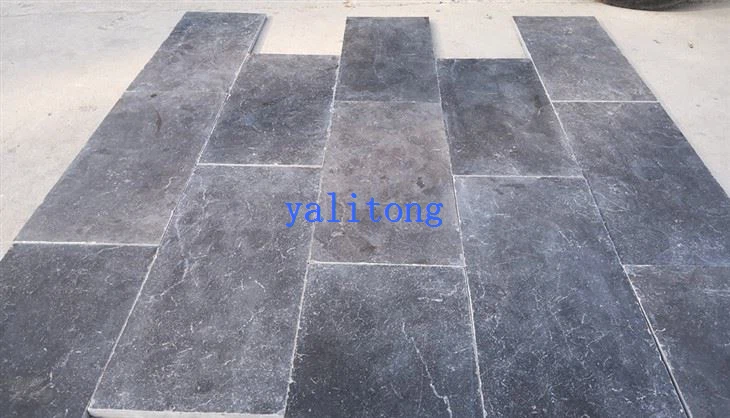
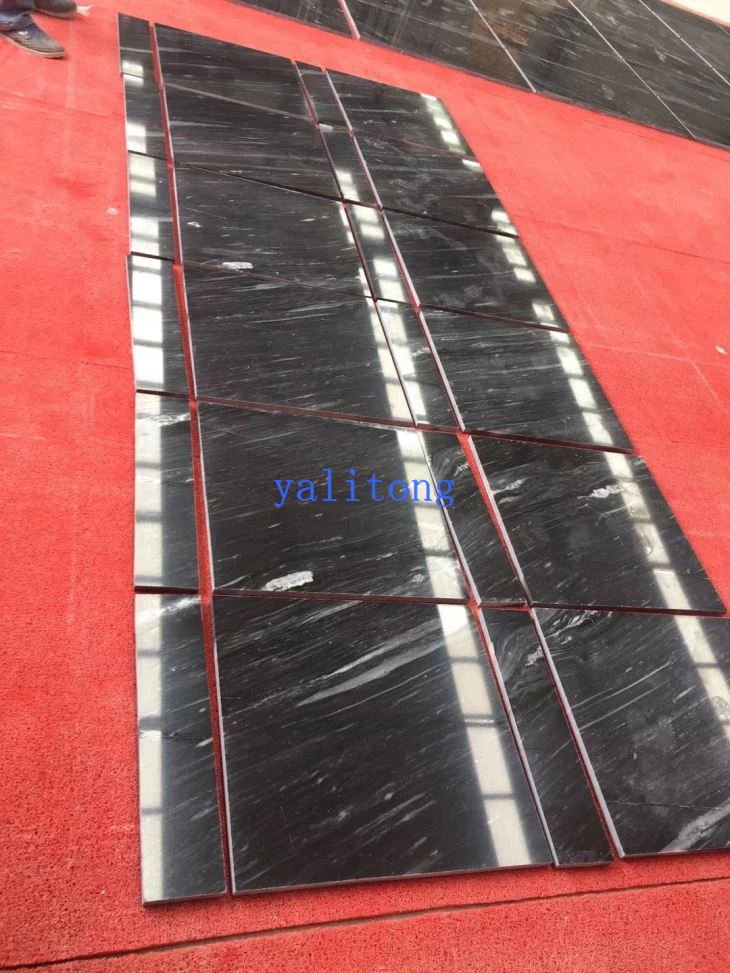
Our Marble Tile Products
At our company, we offer a wide range of high - quality marble tile products to meet your needs. Whether you're looking for a classic white marble or a unique colored marble, we have you covered. Some of our popular products include China Blue Stone, Cartier Grey Marble Tiles, and Lightweight Marble With Honeycomb Aluminum.
Conclusion
Installing marble tile on a concrete floor is a rewarding project that can enhance the beauty and value of your space. By following these steps and using high - quality materials, you can achieve a professional - looking installation. If you have any questions or need help with your marble tile project, don't hesitate to contact us. We're here to assist you every step of the way and help you find the perfect marble tile for your needs. Let's start your next marble tile project together!
References
- "Tile Installation Handbook" by Tile Council of North America
- Manufacturer's instructions for marble tile, adhesive, grout, and sealer products.