How to install marble tile?
Aug 19, 2025
Installing marble tile is a rewarding project that can transform the look and feel of any space. As a marble tile supplier, I've witnessed firsthand the beauty and elegance that marble can bring to a room. In this blog post, I'll guide you through the process of installing marble tile, from preparation to finishing touches.
Step 1: Plan Your Project
Before you start installing marble tile, it's important to plan your project carefully. Measure the area where you'll be installing the tile and calculate how much tile you'll need. Consider the layout and pattern of the tile, as well as any cuts or special shapes that may be required. It's also a good idea to purchase a little extra tile to account for any mistakes or future repairs.
Step 2: Gather Your Materials and Tools
Once you have a plan in place, it's time to gather the materials and tools you'll need for the project. Here's a list of the essential items:
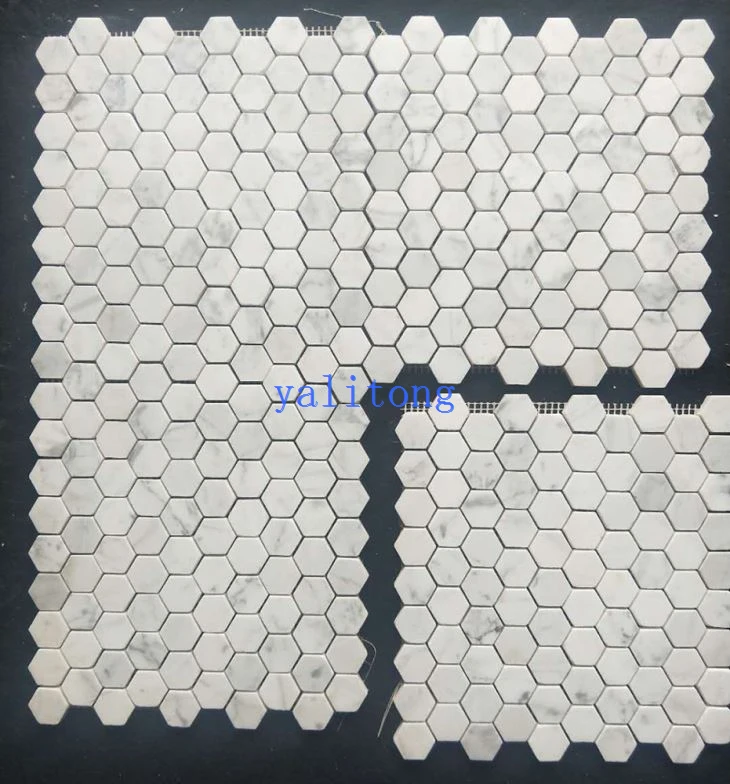
- Marble Tile: Choose the type and style of marble tile that best suits your project. You can explore our selection of Green Marble Floor, Natural Travertine Tile, and Carrara White Hexagon Marble Mosaic for inspiration.
- Thinset Mortar: This is the adhesive that will hold the tile in place. Make sure to choose a thinset mortar that is suitable for marble tile.
- Trowel: You'll need a trowel to apply the thinset mortar to the surface. Choose a trowel with the appropriate notch size for your tile.
- Tile Spacers: These small plastic pieces will help you maintain even spacing between the tiles.
- Tile Cutter or Wet Saw: Depending on the size and shape of your tile, you may need a tile cutter or wet saw to make cuts.
- Grout: Grout is used to fill the gaps between the tiles. Choose a grout color that complements your tile.
- Grout Float: This tool is used to apply the grout to the tiles.
- Sponge: You'll need a sponge to clean the excess grout from the tiles.
- Safety Gear: Wear safety glasses, gloves, and a dust mask to protect yourself from dust and debris.
Step 3: Prepare the Surface
The surface where you'll be installing the marble tile must be clean, level, and dry. Remove any old tile, paint, or debris from the surface. If the surface is uneven, you may need to use a self-leveling compound to create a smooth base. Allow the compound to dry completely before proceeding.
Step 4: Mix the Thinset Mortar
Follow the manufacturer's instructions to mix the thinset mortar. Use a drill with a mixing paddle to ensure a smooth and consistent mixture. The mortar should have a thick, paste-like consistency.
Step 5: Apply the Thinset Mortar
Using a trowel, apply a layer of thinset mortar to the surface. Start in one corner and work your way out. Use the notched side of the trowel to create ridges in the mortar. This will help the tile adhere better.
Step 6: Lay the Tile
Place the first tile in the corner of the room, pressing it firmly into the thinset mortar. Use tile spacers to maintain even spacing between the tiles. Continue laying the tiles, working your way across the room. Cut the tiles as needed using a tile cutter or wet saw.
Step 7: Check for Level
As you lay the tiles, use a level to check that they are even. If a tile is higher or lower than the others, use a rubber mallet to gently tap it into place.
Step 8: Let the Tile Set
Allow the tile to set for at least 24 hours before proceeding. This will give the thinset mortar enough time to dry and bond to the tile.
Step 9: Mix the Grout
Follow the manufacturer's instructions to mix the grout. Use a drill with a mixing paddle to ensure a smooth and consistent mixture. The grout should have a thick, creamy consistency.
Step 10: Apply the Grout
Using a grout float, apply the grout to the tiles at a 45-degree angle. Press the grout into the joints, making sure to fill them completely. Wipe off the excess grout with a sponge.
Step 11: Clean the Tiles
After applying the grout, use a clean, damp sponge to wipe the tiles clean. Rinse the sponge frequently to avoid spreading the grout. Allow the grout to dry for at least 24 hours before using the area.

Step 12: Seal the Tile and Grout
To protect the marble tile and grout from stains and damage, it's important to seal them. Choose a sealer that is suitable for marble tile and follow the manufacturer's instructions for application.
Conclusion
Installing marble tile is a challenging but rewarding project that can add value and beauty to your home. By following these steps and using the right materials and tools, you can achieve professional-looking results. If you have any questions or need further assistance, please don't hesitate to contact us. We're here to help you with all your marble tile needs. Whether you're a DIY enthusiast or a professional contractor, we have the products and expertise to make your project a success. Contact us today to discuss your project and get started on your marble tile installation.
References
- Tile Council of North America. (n.d.). Installation Guidelines. Retrieved from [Website URL]
- Marble Institute of America. (n.d.). Marble Tile Installation. Retrieved from [Website URL]